# Setup a Webshipper shipping method (V2)
To get started with integrating your shop with Webshipper (V2), first you must activate the app (Webshipper V2)
As always, the apps are found on the admin panel: /admin/apps
Now add your Webshipper credentials

Account Name
Your Account ID is the general name of your Webshipper V2 agreement, and will always be the subdomain in your webshipper login address.

API token
Create an API token in your Webshipper Settings
https://your-acoount.webshipper.io/settings/access_tokens
Select all scopes and hit the save button.
Insert the API token into your Codefort shops. Hit save.
Order Channel
If the credentials are correct, you will now be able to select your order channel. If you have multiple order channels on your V2 agreement, you will be able to see them listed in the dropdown. Hit the save button.
Webhooks
In V2, webhooks are implemented automatically through the integration, so everything you have to do is hit "Enable Webhooks".
Webhooks makes sure that Webshipper notifies your shop every time an order is fulfilled and automatically capture and fulfill the order.
Setting up a shipping method
To get started sending your orders to Webshipper V2, you must create a new shipping provider, with Webshipper v2 as the selected provider:
Navigate through your admin panel to Settings -> Shipping Setup -> Add Shipping provider admin/settings/setup/shipping/providers/
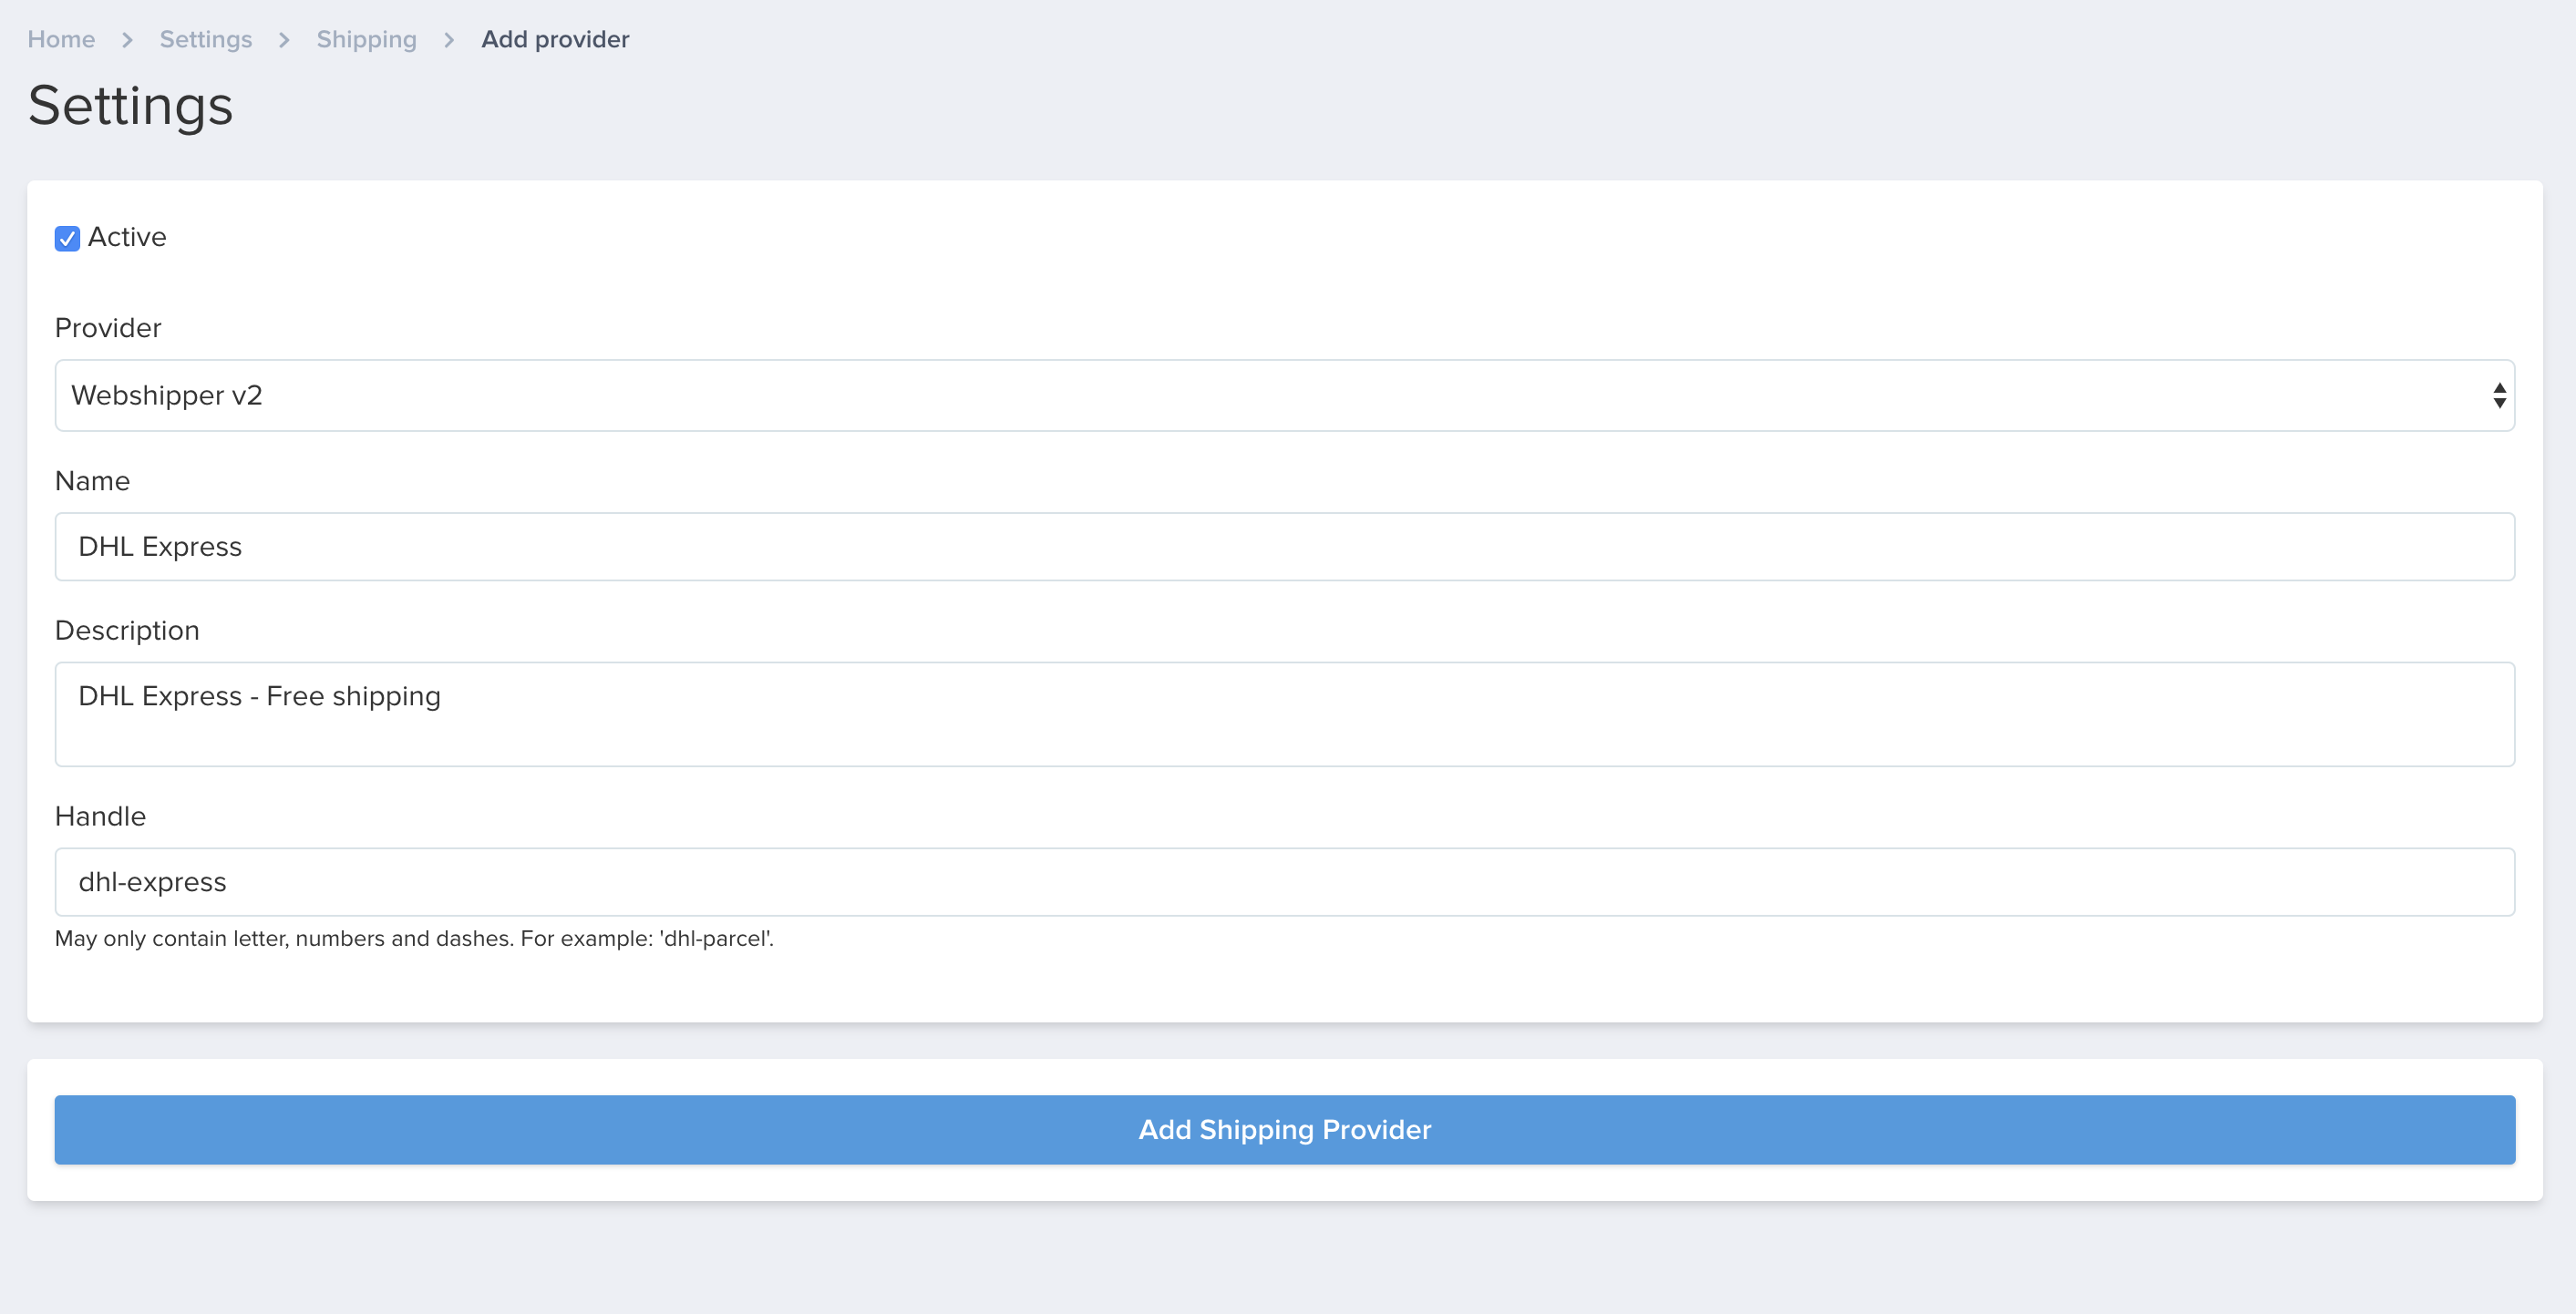
As always, you must also enter title, description and handle, but we'll also need to insert the rate ID from Webshipper. Hit save.
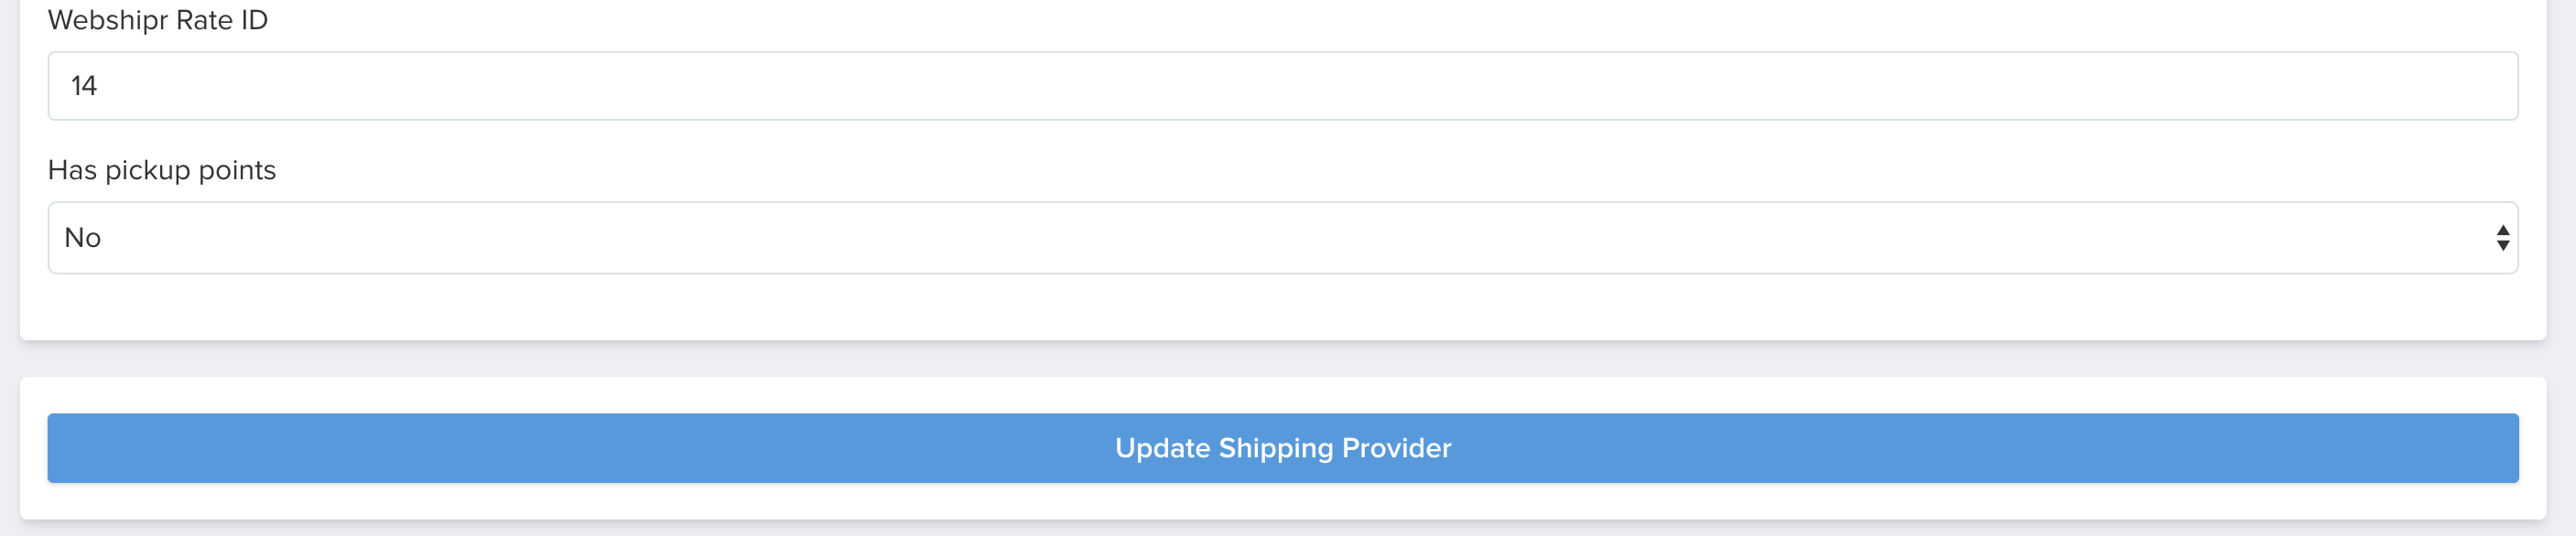
Now, it will require a rate ID. The rate ID is found in your Webshipper account.
In Webshipper, please navigate to Settings -> Select your order channel -> Select your shipping rate.
Here, you will find the rate ID in the URL

Insert the rate ID and check if the shipping rate has pick up points (e.g. parcel shops / boxes). Hit save.
Lastly, create the shipping zone and shipping rate.